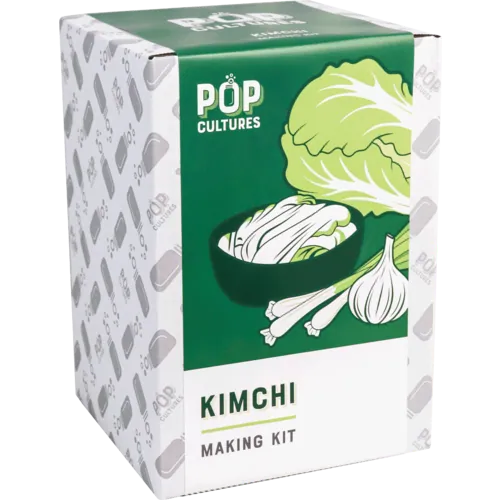
Home Kimchi Making Kits: Everything You Need to Ferment Your Own
Shop-bought kimchi is fine, but making your own is cheaper, tastier, and surprisingly straightforward. These kits give you everything you need to start fermenting at home.
Why Make Your Own Kimchi?
A decent jar of kimchi from the supermarket costs around four to five quid for 300-400g. Making your own at home produces roughly a kilogram for about the same price, and it tastes significantly better. Homemade kimchi is alive — properly fermenting and developing flavour over days and weeks in your fridge. The shop-bought stuff is often pasteurised, which kills the beneficial bacteria and stops the flavour developing.
The process itself is genuinely simple. You salt napa cabbage, make a paste from gochugaru, garlic, ginger, fish sauce, and rice flour, massage it into the cabbage, and pack it into a jar. The whole thing takes about an hour of active work, then you leave it on the counter for a day or two before moving it to the fridge. That's it.
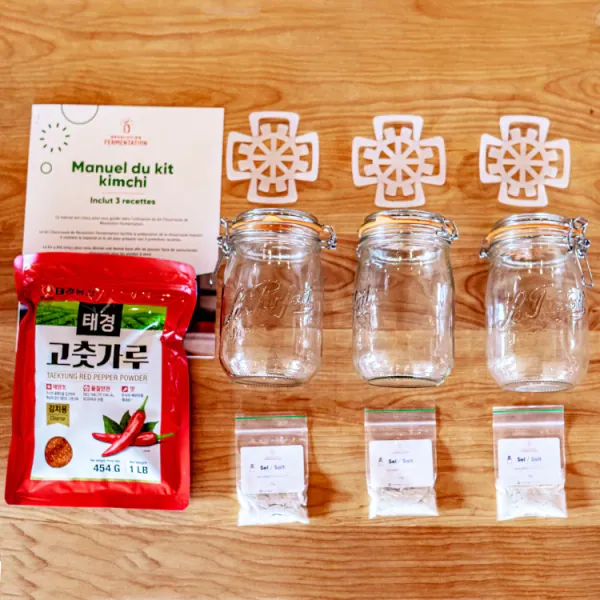
What the Kits Include
**Sous Chef's Kimchi Making Kit** is the most beginner-friendly option. It includes gochugaru (Korean chilli flakes), fish sauce, rice flour, and a detailed recipe card. You'll need to supply the fresh ingredients yourself — napa cabbage, garlic, ginger, spring onions — but those are all easy to find at any supermarket. At under twenty pounds, it's an affordable way to try your first batch without committing to full-size bottles of specialist ingredients.
**MakKimchi's DIY Kit** goes a step further by including a fermentation jar with an airlock lid, which makes the process more forgiving. The airlock lets carbon dioxide escape during fermentation without letting oxygen in, which reduces the risk of mould. The kit also includes a larger quantity of gochugaru and a laminated recipe guide. It's the better choice if you want a more complete setup out of the box.
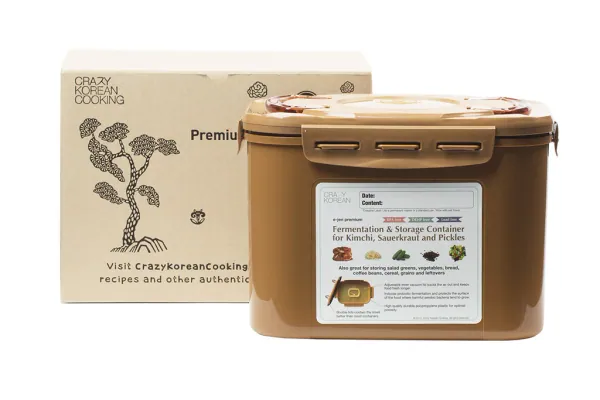
The Fermentation Vessel Matters
If you get serious about kimchi (and most people do after their first batch), a proper fermentation crock is worth the investment. **Crazy Korean Cooking's 2L crock** is a traditional onggi-style pot with a water seal lid that works on the same principle as a European sauerkraut crock. The unglazed clay breathes slightly, which Korean fermenters believe produces better flavour development than glass or plastic.
That said, a clean glass Kilner jar from the kitchen drawer works perfectly well for your first few batches. Don't let equipment anxiety stop you from starting — the Koreans have been making kimchi for centuries with far less kit than you already own.
Tips for UK Kitchens
British homes tend to be cooler than Korean ones, which actually works in your favour. Slower fermentation at lower temperatures produces more complex flavours. In summer, your kimchi might be ready in 24 hours on the counter. In a chilly January kitchen, give it two to three days before tasting. Once it's as tangy as you like, move it to the fridge where it'll keep for months, getting better with age.